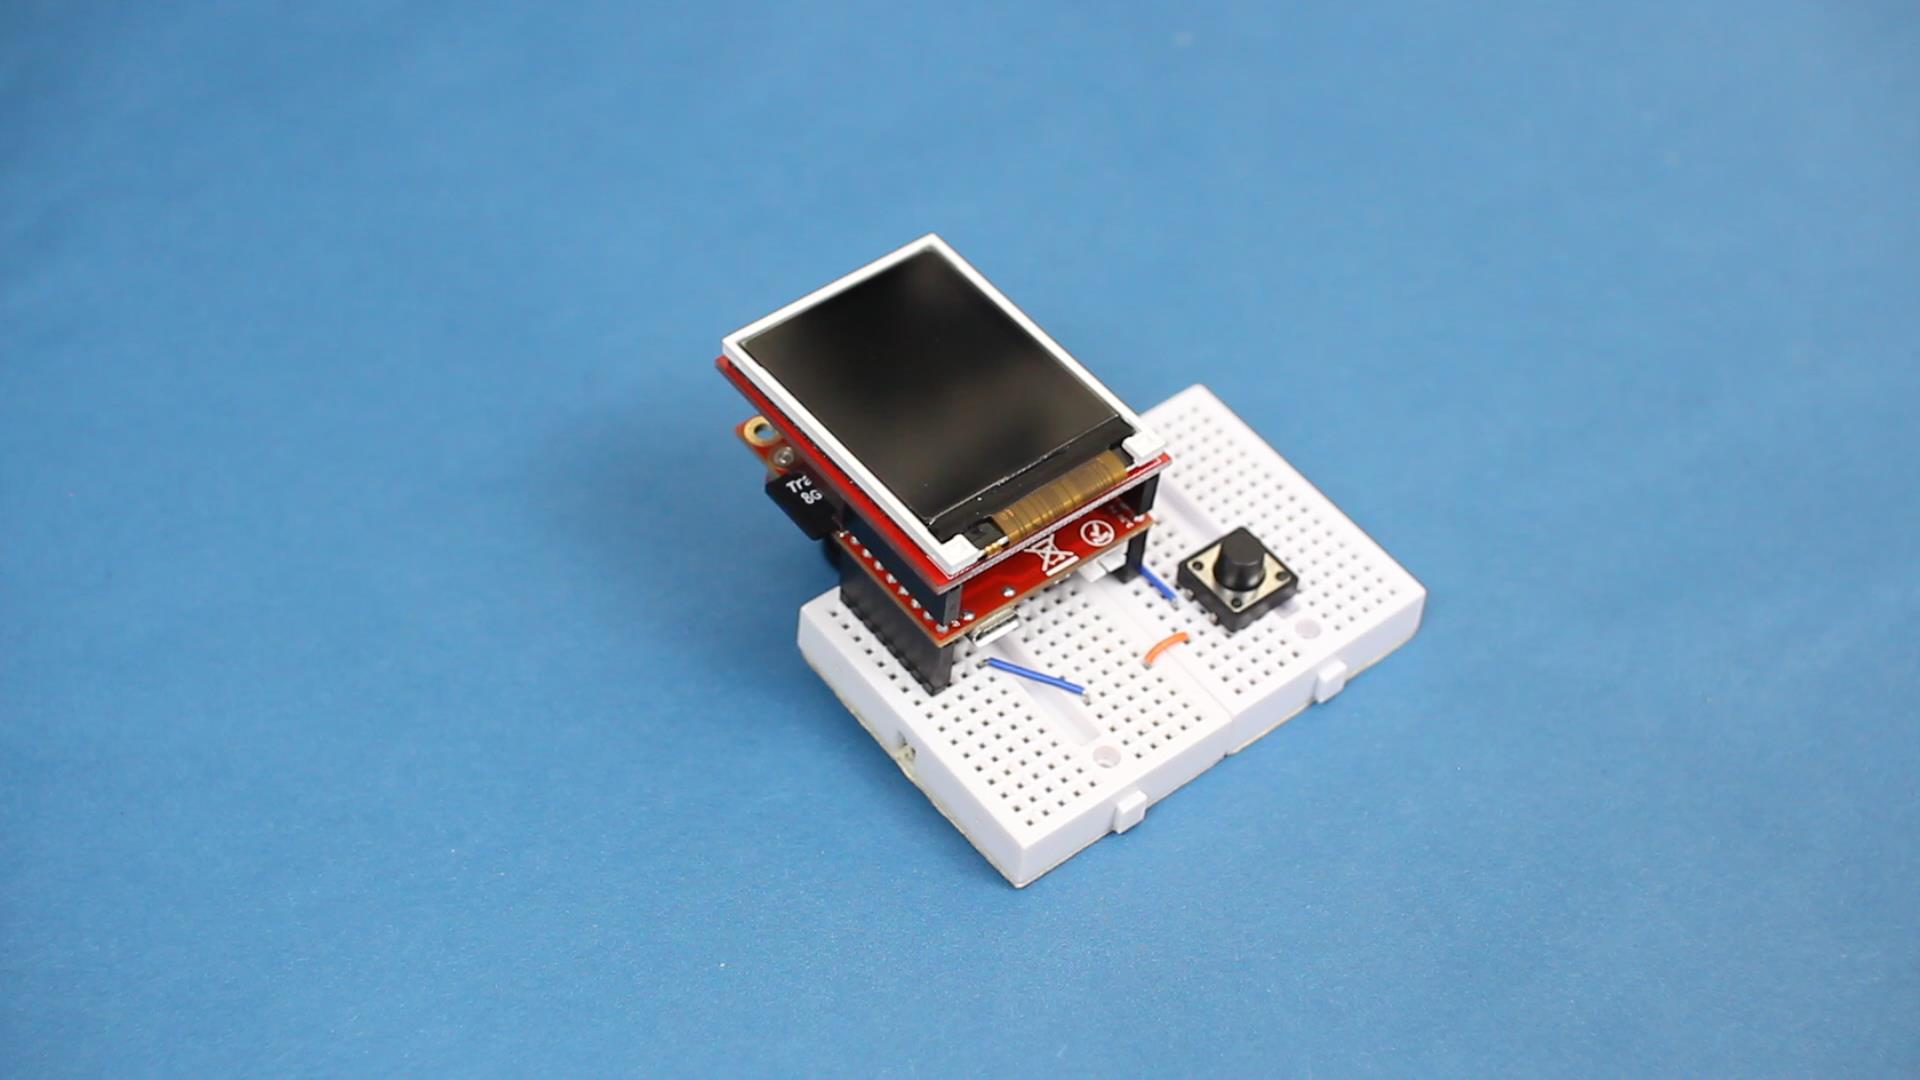
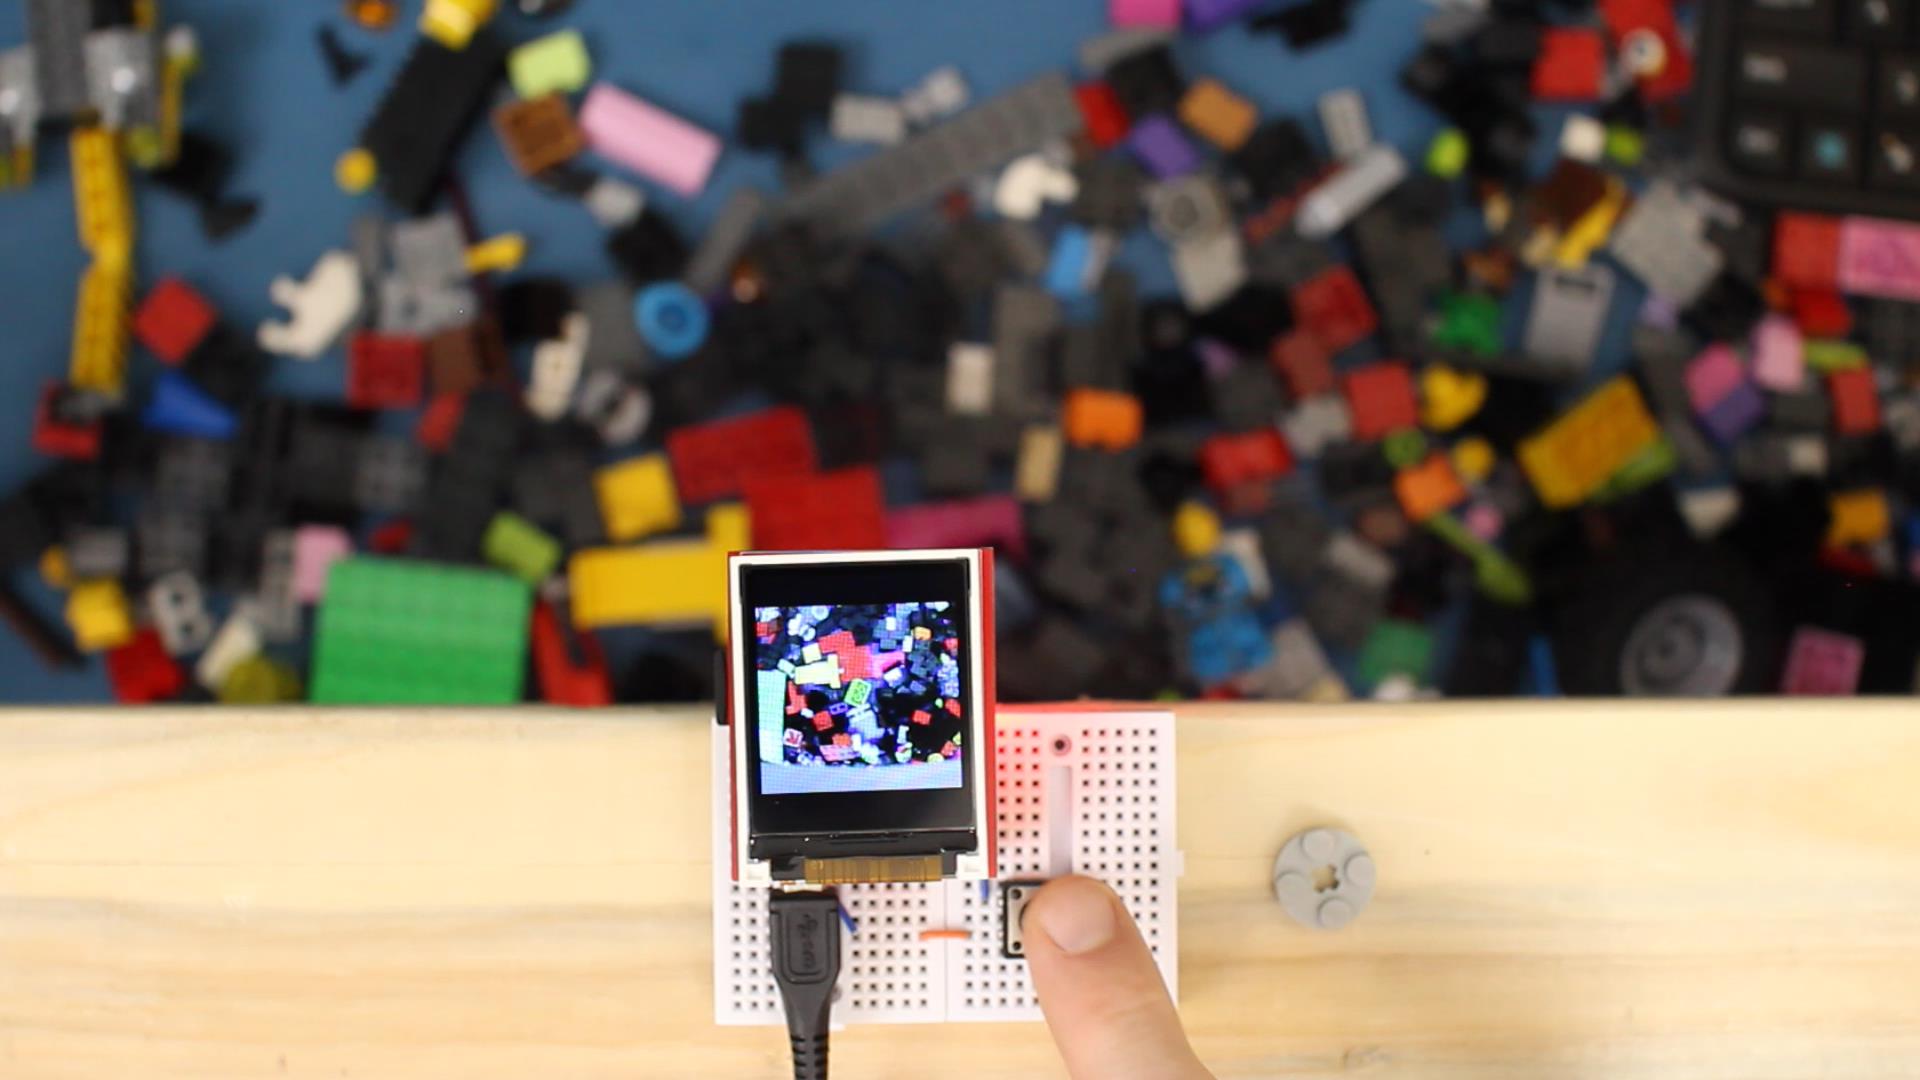
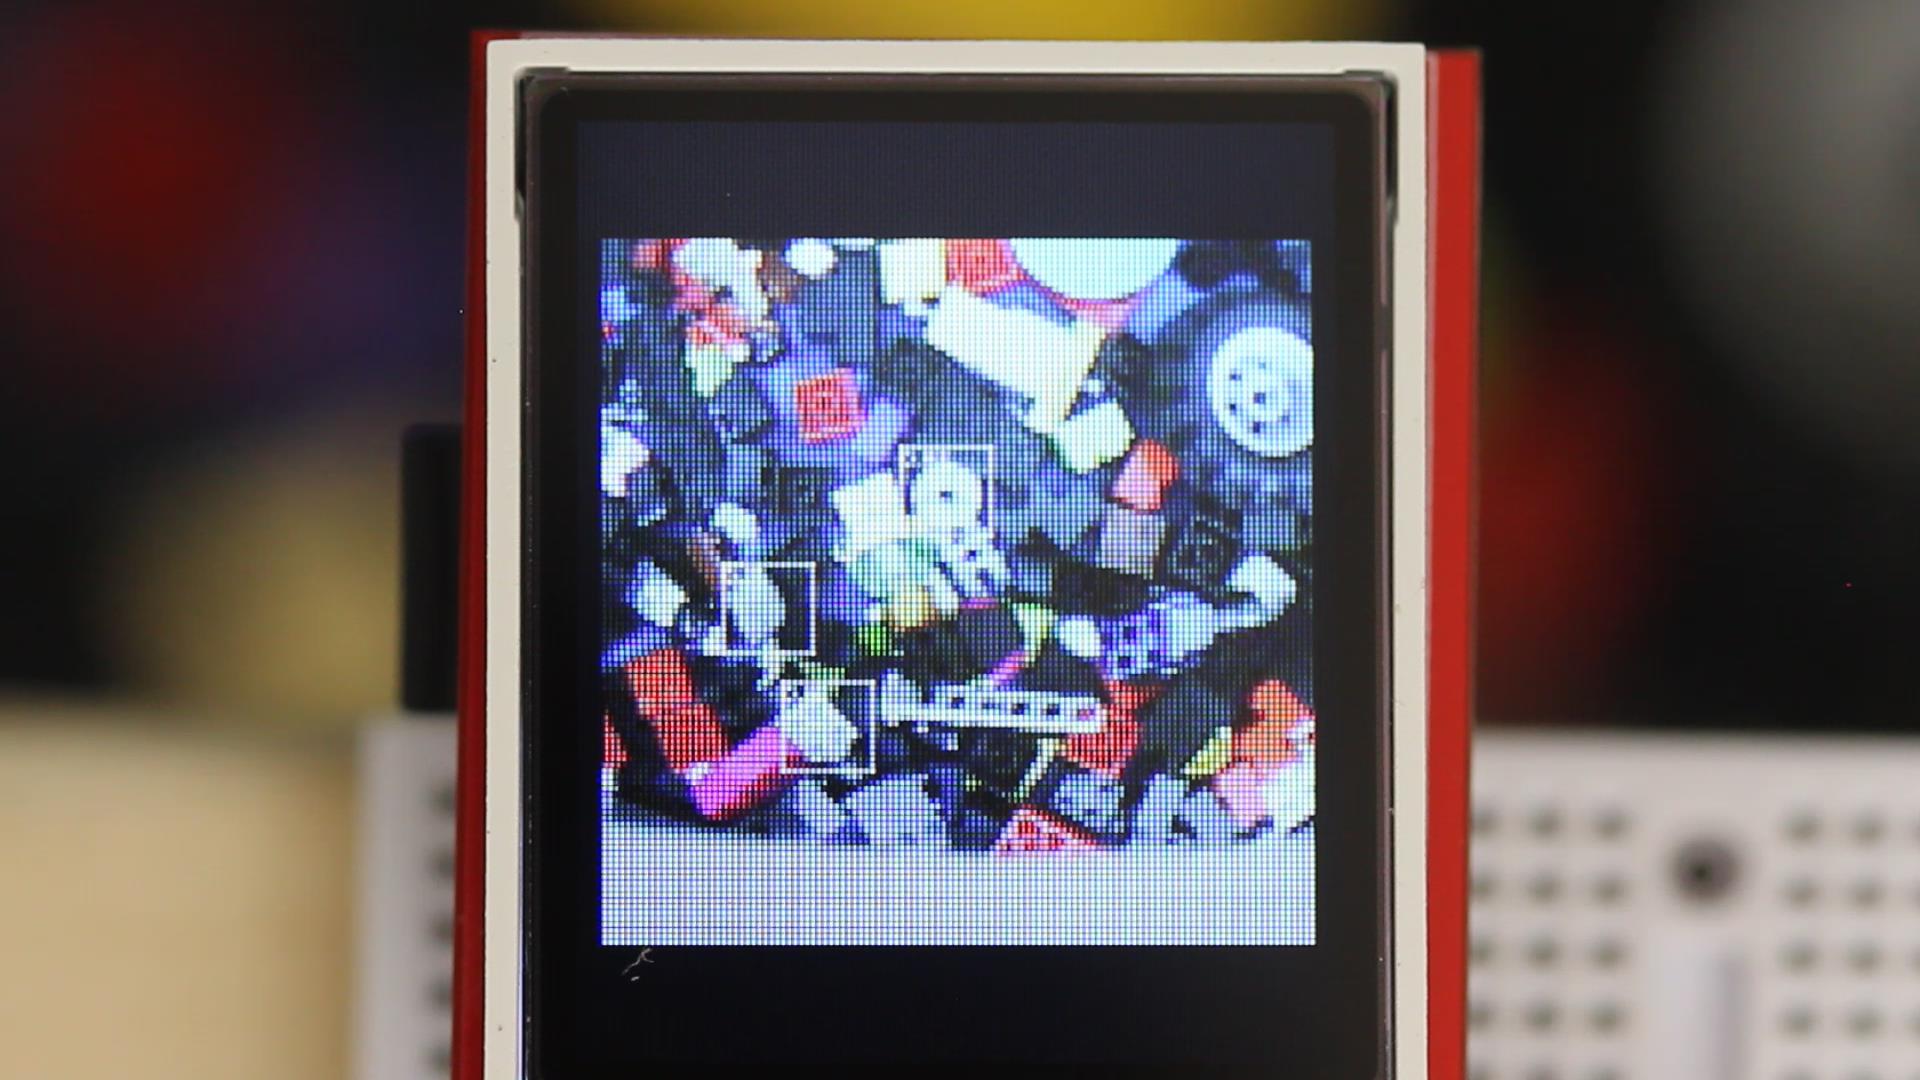
This project is a demonstration on how to use OpenMV and Edge Impulse to create an object detection application that identifies the location of a given Lego piece in an image. Machine learning on microcontrollers (TinyML) is a growing field that enables new types of machine vision, classification, and decision making programs to be deployed to embedded systems.
The full article that explains how to use the code contained in this repository can be found here: LEGO Brick Finder with OpenMV and Edge Impulse.
Here is a video that demonstrates this project in action: https://www.youtube.com/watch?v=6wIswIpSw04
You will need the following:
- OpenMV H7 Camera or OpenMV H7 Camera PLUS
- OpenMV LCD Shield
- MicroSD Card
- 2x Mini Breadboard
- Pushbutton
- Tall headers (or bend right-angle headers to be straight)
- Wires
- USB Micro cable
Solder tall female headers to the OpenMV module and attach the LCD shield. Use tall male headers to attach the OpenMV module to a connected pair of breadboards. Connect one side of the pushbutton to GND and the other to P4 on the OpenMV. Insert microSD card into the OpenMV.
Install the OpenMV IDE. Copy the data_capture/img_save.py code to a new project in the OpenMV IDE. Upload it to the camera module.
Position the camera about 8 inches above the pile of Lego bricks. Snap several photos with and without the target piece (aim for at least 3 background photos without the target piece and 75 with the target piece in various positions).
Use an image editing program (such as GIMP to crop out 32x32 pixel chunks containing the target piece.
On your computer, run data_capture/divide_images.py to automatically create 32x32 pixel sub-images from the background photos (not containing the target piece). Convert all images to jpeg format.
Note: you can also use the dataset I captured for this part, which is found in dataset/jpg. Please be aware that the field of view and lighting for my dataset might be different than yours, which will likely affect accuracy.
Upload the jpeg images to Edge Impulse and train a neural network to classify target piece vs. background. See the full tutorial for an explanation on how to use Edge Impulse.
Download the trained TensorFlow Lite model file (.tflite). Copy it and labels.txt to the root drive of the OpenMV camera.
Copy the code from deploy/lego_finder.py to a new project in the OpenMV IDE. Upload the code to the OpenMV camera module.
Press the button on the breadboard to snap a photo. After about 10 seconds (if using the regular OpenMV H7 module), a photo should appear on the LCD with the supposed target pieces highlighted by white squares.
All code in this repository (unless otherwise noted) is for demonstration purposes and licensed under Beerware.
Distributed as-is; no warranty is given.


