This project has a ton of people using it, but I (@jaredly) haven't used Hexo in several years. If you use this plugin, and are interested in helping maintain it, I'd love your help! To volunteer, start making pull requests fixing bugs & making things better :) if I'm not responsive, feel free to bug me on twitter (@jaredforsyth).
![]()
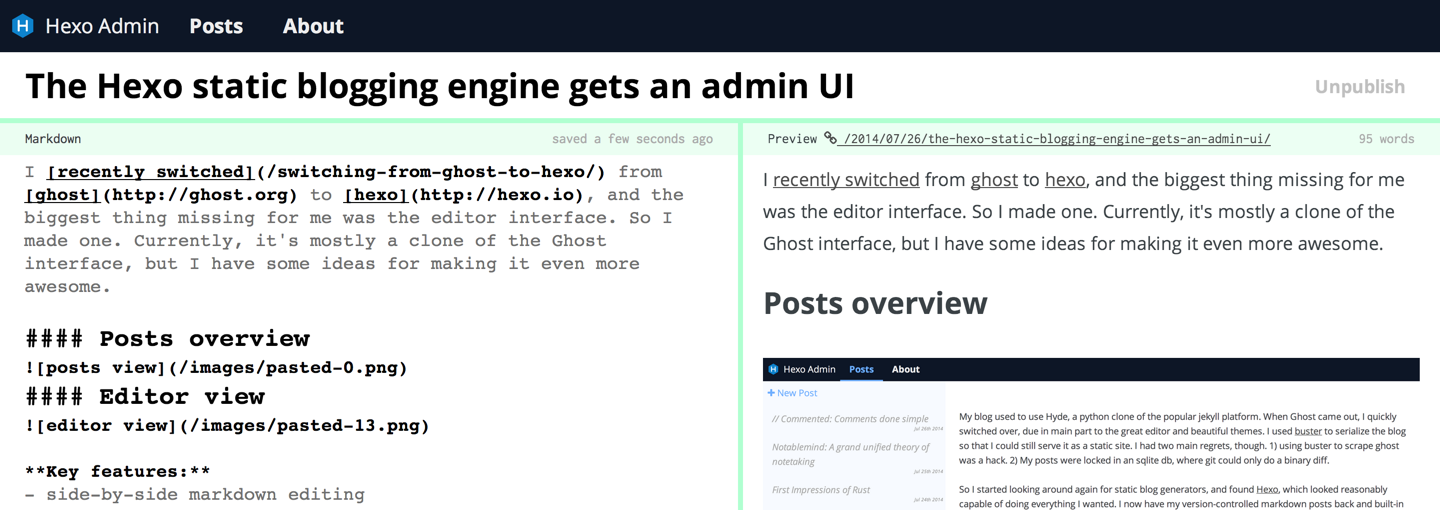
An admin UI for the Hexo blog engine. Based off of the Ghost interface, with inspiration from svbtle and prose.io.
For 2.x, use version 0.3.0 of this plugin. Version 1.x and beyond only
support Hexo v3.x.
This plugin was originally designed as a local editor -- you run hexo locally, use hexo-admin to author posts, and then use hexo generate or hexo deploy to send the generated static HTML files up to github pages or some other static server.
However, hexo-admin can be run on your live blog, as long as you're using a non-static hosting service such as Heroku, DigitalOcean, etc. Static hosting services such as Github pages and Surge.sh does not support running hexo-admin from your live site.
If you're using Hexo admin from your live blog, you should definitely set up a password (see below) -- otherwise anyone will be able to edit your content.
npm install -g hexo
cd ~/
hexo init my-blog
cd my-blog
npm installnpm install --save hexo-admin
hexo server -d
open http://localhost:4000/admin/The UI should be pretty discoverable -- let me know if you can't find something.
If you're using Hexo admin on your live server, you want some password
protection. To enable this, you just add a few config variables to your hexo
_config.yml:
admin:
  username: myfavoritename
  password_hash: be121740bf988b2225a313fa1f107ca1
  secret: a secret something
The password_hash is the bcrypt hash of your password. The secret is used
to make the cookies secure, so it's a good idea to have it be long and
complicated.
A utility in Hexo admin's Settings can hash your password and generate the admin
section for you. Start Hexo and go to Settings > Setup authentification
and fill out your information. Copy the generated YAML into your _config.yml.
Once that's in place, start up your hexo server and going to /admin/ will
require you to enter your password.
To add and edit your own post metadata with the admin interface, add the
metadata variable and your custom variables to your hexo _config.yml:
metadata:
  author_id: defaultAuthorId
  language:
You can provide default values that will be used to initialize the metadata of a new post. These can be either primitives or arrays.
- let me know how it can be improved in the github issues
- fork and pull-request
built with ❤ by Jared Forsyth (@jaredforsyth) using react, browserify, and less.