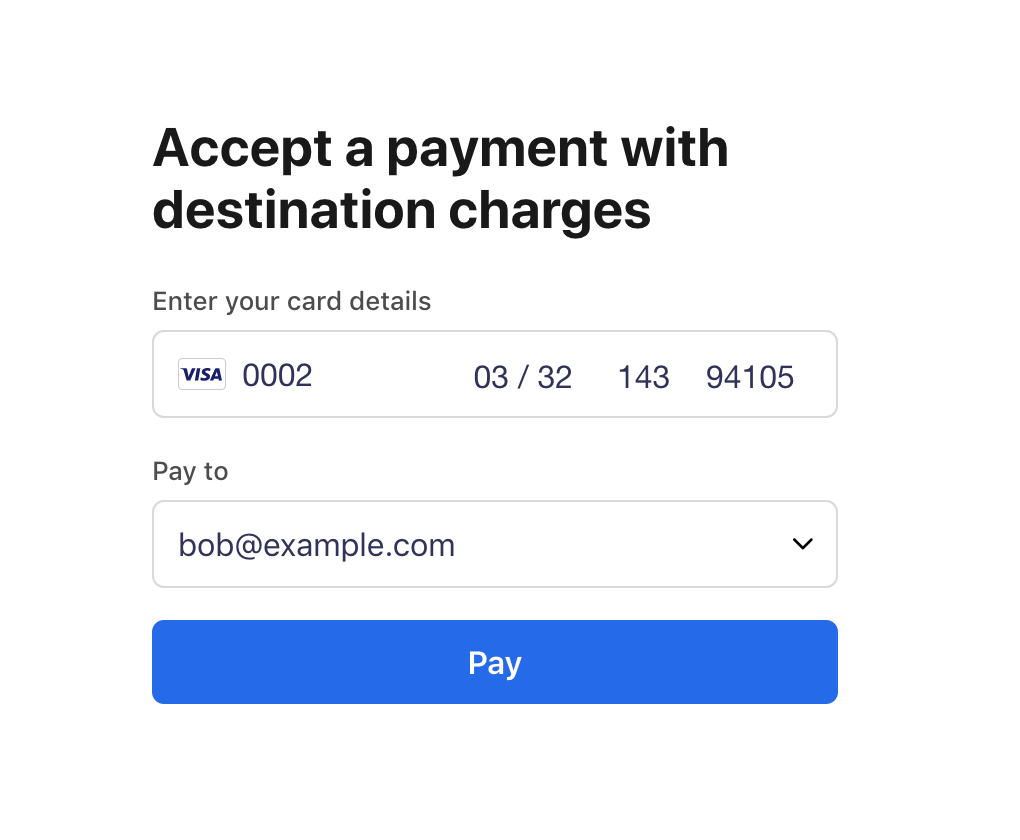
This Stripe sample shows you how to process a Connect destination charge using Stripe elements. Before using this sample, you should have onboarded at least one Connect account. For more about onboarding accounts and making Connect charges, read our step-by-step Connect guide.
This sample includes 5 server implementations in Node, Ruby, Python, Java, and PHP.
Follow the steps below to run locally.
1. Clone and configure the sample
Using the Stripe CLI
If you haven't already installed the CLI, follow the installation steps in the project README. The CLI is useful for cloning samples and locally testing webhooks and Stripe integrations.
In your terminal shell, run the Stripe CLI command to clone the sample:
stripe samples create connect-destination-charge
The CLI will walk you through picking your integration type, server and client languages. Make sure to configure your .env file as shown below.
Installing and cloning manually
If you do not want to use the Stripe CLI, you can manually clone the sample yourself:
git clone https://github.com/stripe-samples/connect-destination-charge
Make sure to configure your .env file as shown below.
Configuring your .env file
Copy the .env.example file into a file named .env in the folder of the server you want to use. For example:
cp .env.example server/node/.env
You will need a Stripe account in order to run the demo. Once you set up your account, go to the Stripe developer dashboard to find your API keys.
STRIPE_PUBLISHABLE_KEY=<replace-with-your-publishable-key>
STRIPE_SECRET_KEY=<replace-with-your-secret-key>
STATIC_DIR tells the server where to the client files are located and does not need to be modified unless you move the server files.
2. Follow the server instructions on how to run:
Pick the server language you want and follow the instructions in the server folder README on how to run.
For example, if you want to run the Node server:
cd server/node # there's a README in this folder with instructions
npm install
npm start
Q: Why did you pick these frameworks?
A: We chose the most minimal framework to convey the key Stripe calls and concepts you need to understand. These demos are meant as an educational tool that helps you roadmap how to integrate Stripe within your own system independent of the framework.
If you found a bug or want to suggest a new [feature/use case/sample], please file an issue.
If you have questions, comments, or need help with code, we're here to help:
- on Discord
- on Twitter at @StripeDev
- on Stack Overflow at the stripe-payments tag
- by email
Sign up to stay updated with developer news.
@emorphis